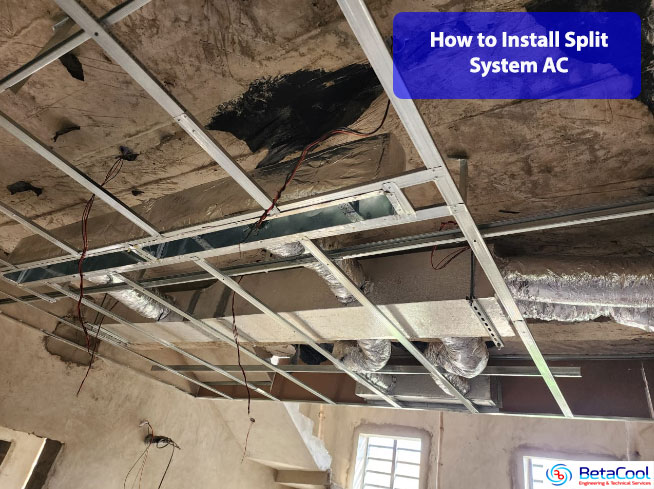
How To Install Split System Air Conditioning
Introduction:
Learn how easy it can be to keep things cool by learning how to install split system air conditioning.
When it comes to keeping your house or supermarket cool in Lagos, more and more homeowners are turning to air con systems to get the job done. And since not all homes come outfitted with complete ducted systems, you might be wondering if your options are for effective, affordable air con.
They’re affordable, can service more than one room if needed (with a multi-split configuration), and surprisingly energy efficient to boot. What’s more, they’re not that difficult to install.
Step 1. Prepare the indoor unit:First things first. You have to decide on where exactly to mount the indoor unit. You’ll know what room you want cooled, but you’ll have to choose a place high up on an exterior wall for the most efficient installation. The best locations also have studs behind them so that the unit can be installed with more support.
With a location decided on, your technician will be able to get started by attaching mounting brackets to the wall where you’ll want the air con installed. They’ll also unbox all of the materials that came with the unit and make sure they’re ready for installation.
Step 2. Drill and run pipes and wires:
Since a split system has two parts, they’ll need to be connected together for the air con to run properly. To do this, your installer will start by drilling holes into the wall to feed wires and pipes through. The holes will go from the inside of your home to the outside, which is why an exterior wall is needed. The holes are used to feed electrical wiring, tubing, and copper pipes through.
Step 3. Mount the indoor unit:
With everything fed through the walls in the right place, the indoor unit can be put in place on the wall. The installer will make sure that all of the connections are made between the wires and pipes and the unit itself. They’ll also make sure that the unit is mounted at the right angle to allow for proper drainage for condensation.
Step 4. Install the outdoor unit
Now your installer will move things outside for a bit. The outdoor unit needs to be placed relatively close to the wall where the indoor unit has been fixed. This will help limit the amount of wiring and pipes that need to be fed from one to the other. Most outdoor condenser units are mounted to a slab on the ground to ensure that they are level and lifted out of and away from the elements like mud or rain runoff.
Step 5. Connect the two units:
With the outdoor condenser in place, the installer can get to work connecting it to the wires and piping. The wiring is mainly electrical and used to power the system. Pipes are used to move the cooled air as well as catch any condensation that could accumulate within the system.
By connecting the outdoor unit to these fixtures, the two split units are now connected to one another. With everything in place, the installer will then seal off and around any holes and secure the pipes and wires to the exterior of the home so that everything will remain in place.
Step 6. Test the connection:
Finally, you’re ready to start to cool things down. The installer will turn on your new split system and ensure that everything is running smoothly including the cooling as well as variable fan speeds. They will also go over any other tips with you for operation including how to change the filter and how to operate any remotes that came with the system.
We’re a team of experts that are specifically trained in the installation, care, and repair of air conditioners. We’ve served Lagos and the surrounding areas reliably for over 8 years with a team of licensed and insured air con specialists. We also stand by our work with a 5-year installation warranty that comes with every job we do.
If you’re ready for a split system air conditioner that will help keep things cool, give us a call on +2348036496114 for a fast and free quote today!
